
 RowCraft – Table Fields for Jira
Getting started
Create your first RowCraft table field
This walkthrough creates a purchase-request table field, adds it to a project's screens and fills in the first rows. It takes about five minutes. You need the Administer Jira permission for steps 1 to 4.
1. Open Field tables
Go to Apps → RowCraft → Field tables. The page lists every RowCraft table field on the site, with its contexts, the projects each context applies to and a summary of its columns and rules.
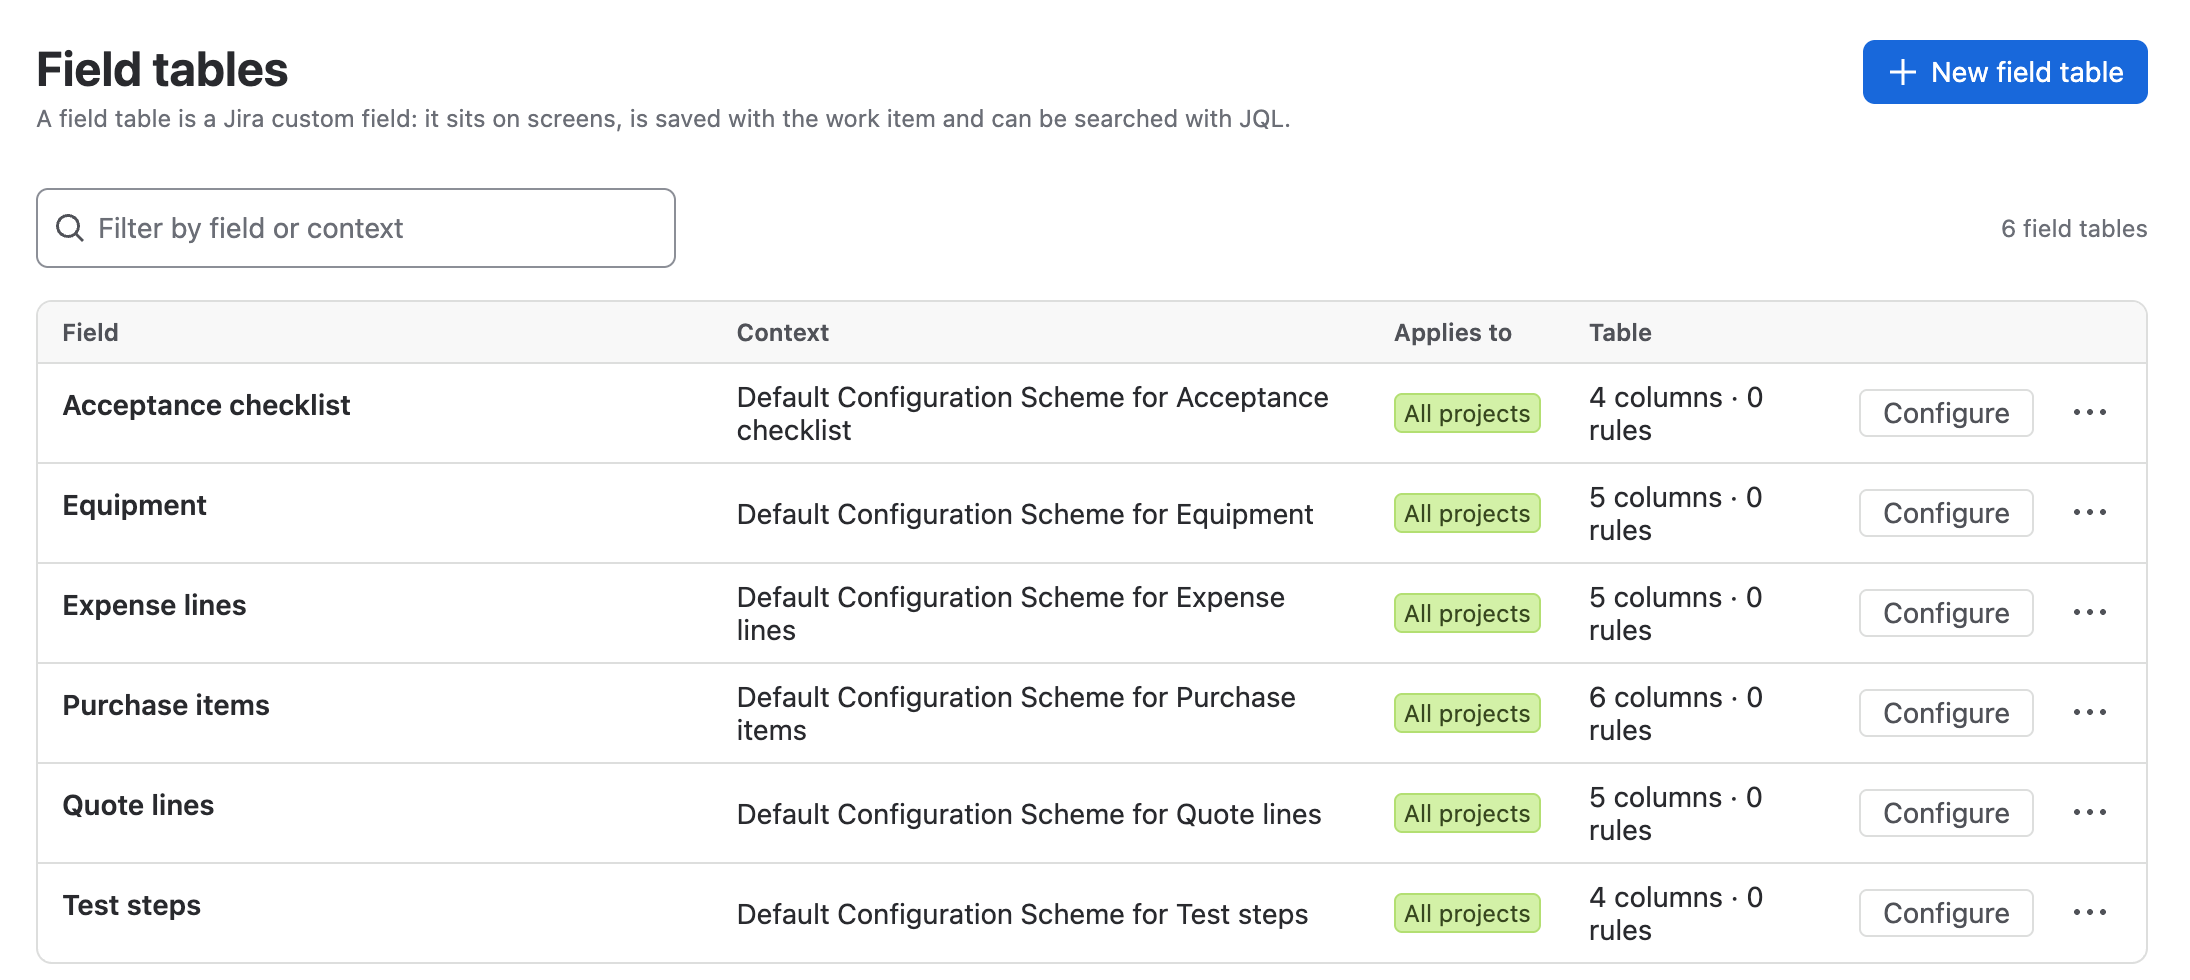
Select New field table. The wizard has three steps, and nothing is created until the last one.
2. Name the field
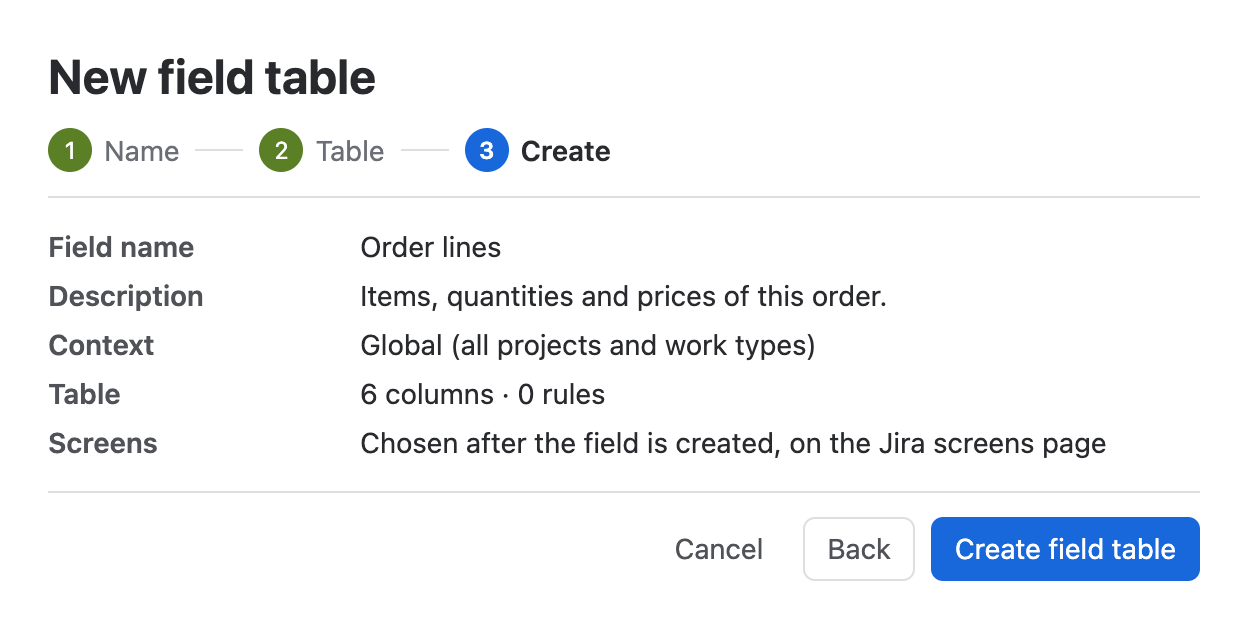
Enter a Field name, for example Order lines, and an optional Description. Jira shows the description under the field to help people fill it in.
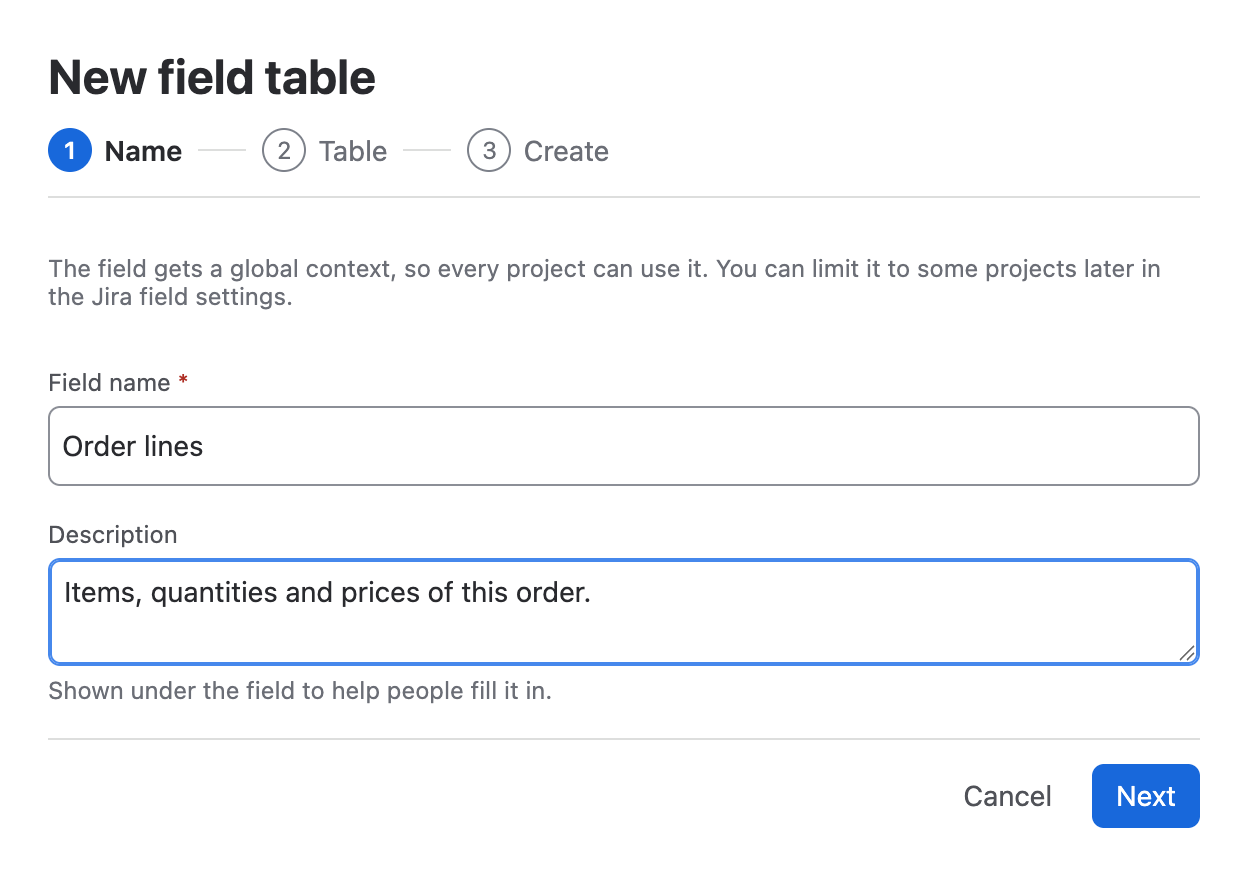
The new field gets a global context (all projects and work types). You can limit it to some projects later in Jira's field settings, and give other contexts their own columns.
Select Next.
3. Choose a template and adjust the columns
Select Start from a template and pick a ready-made table. The right side previews its columns, types, required columns and totals.
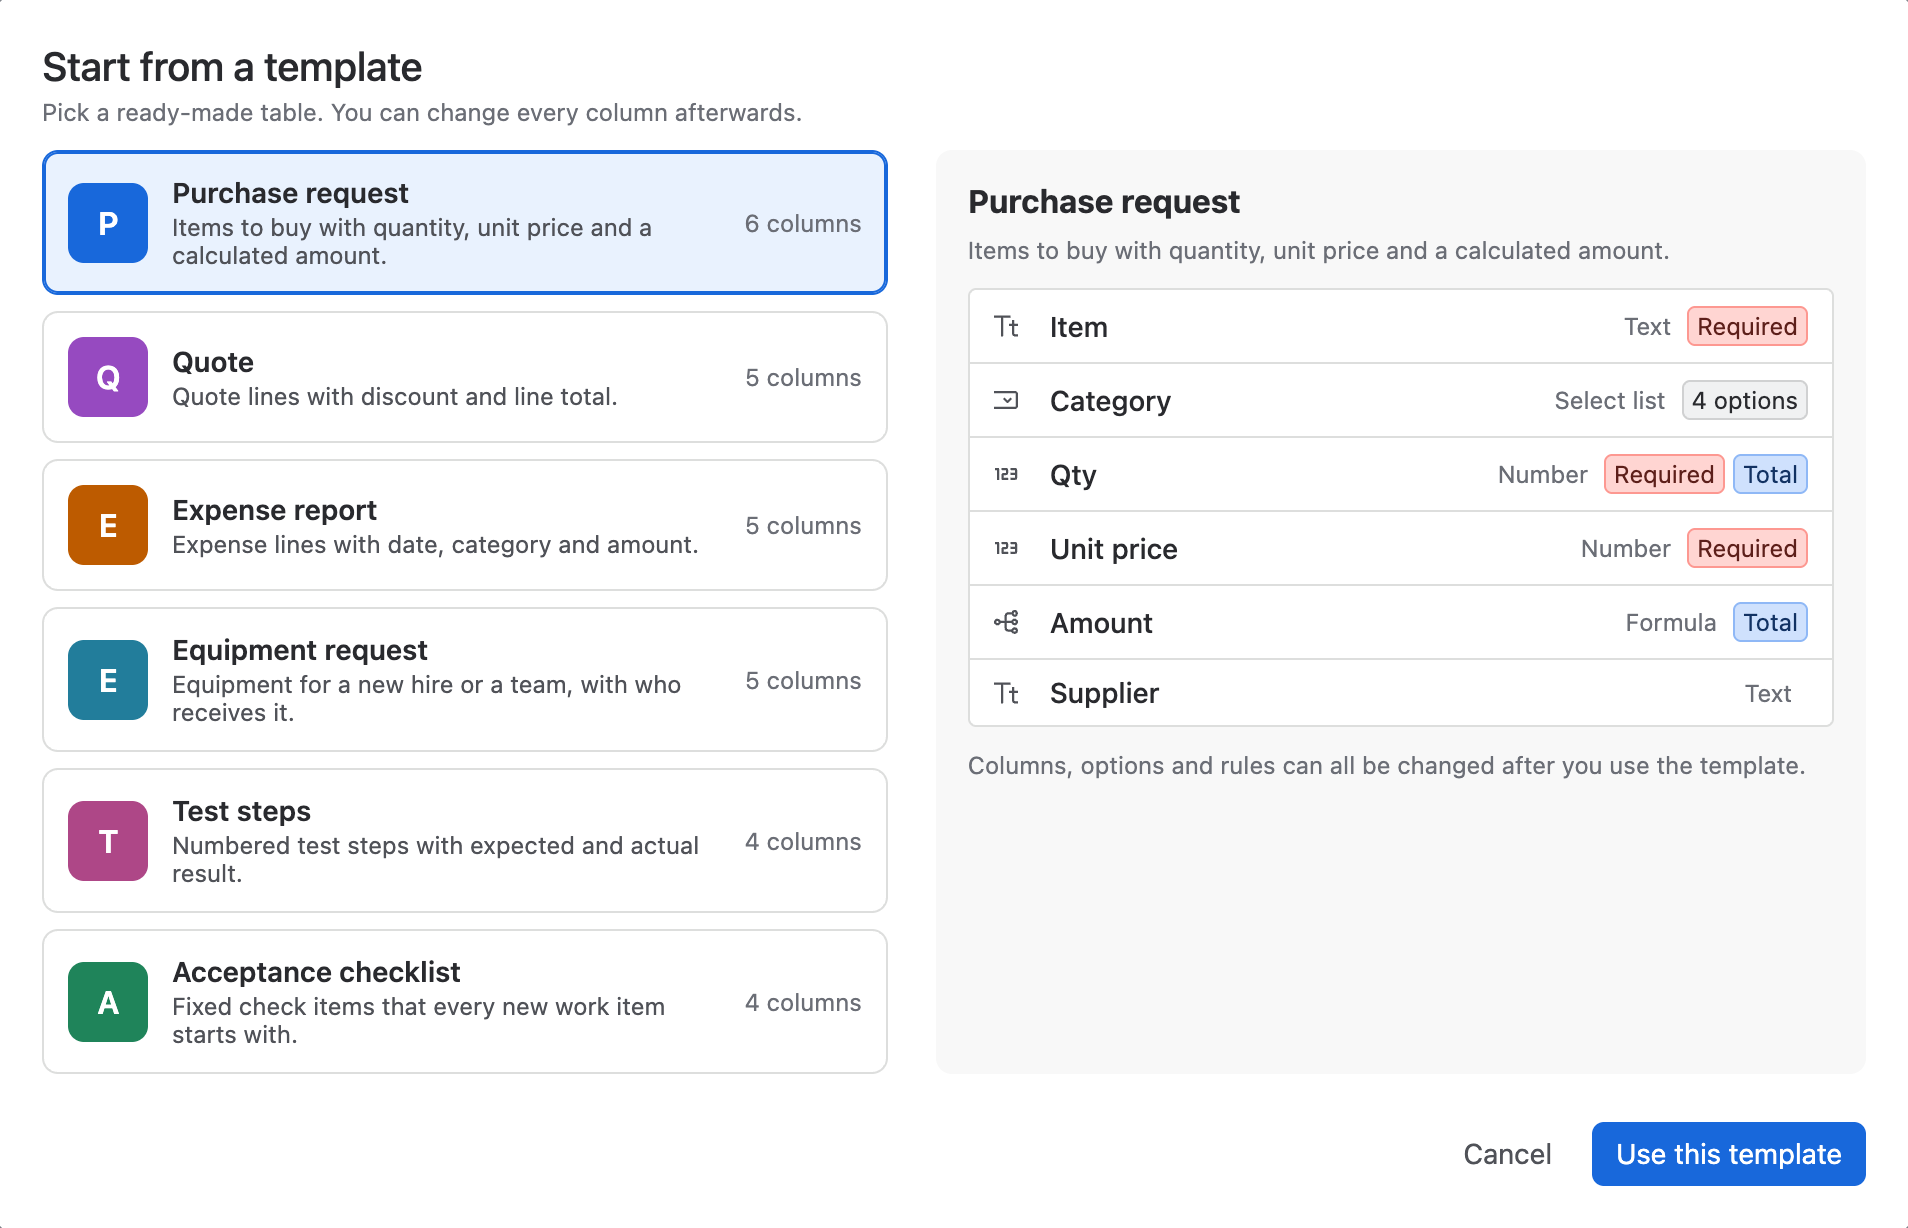
| Template | Columns | Use it for |
|---|---|---|
| Purchase request | Item, Category, Qty, Unit price, Amount (formula), Supplier | Items to buy, with a calculated amount and total |
| Quote | Product, Qty, List price, Discount %, Line total (formula) | Quote lines with discount and line total |
| Expense report | Date, Category, Description, Amount, Receipt attached | Expense lines with date and category |
| Equipment request | Equipment, Qty, For, Needed by, Delivered | Equipment for a new hire or a team |
| Test steps | # (row number), Step, Expected result, Result | Numbered test steps with expected and actual result |
| Acceptance checklist | Check item, Done, Owner, Notes, plus five default rows | Fixed check items every new work item starts with |
| Blank table | One text column (Item) | Building your own table |
Select Use this template. The table opens in the column designer, where you can rename, add, remove and reorder columns, and set rules and colours.
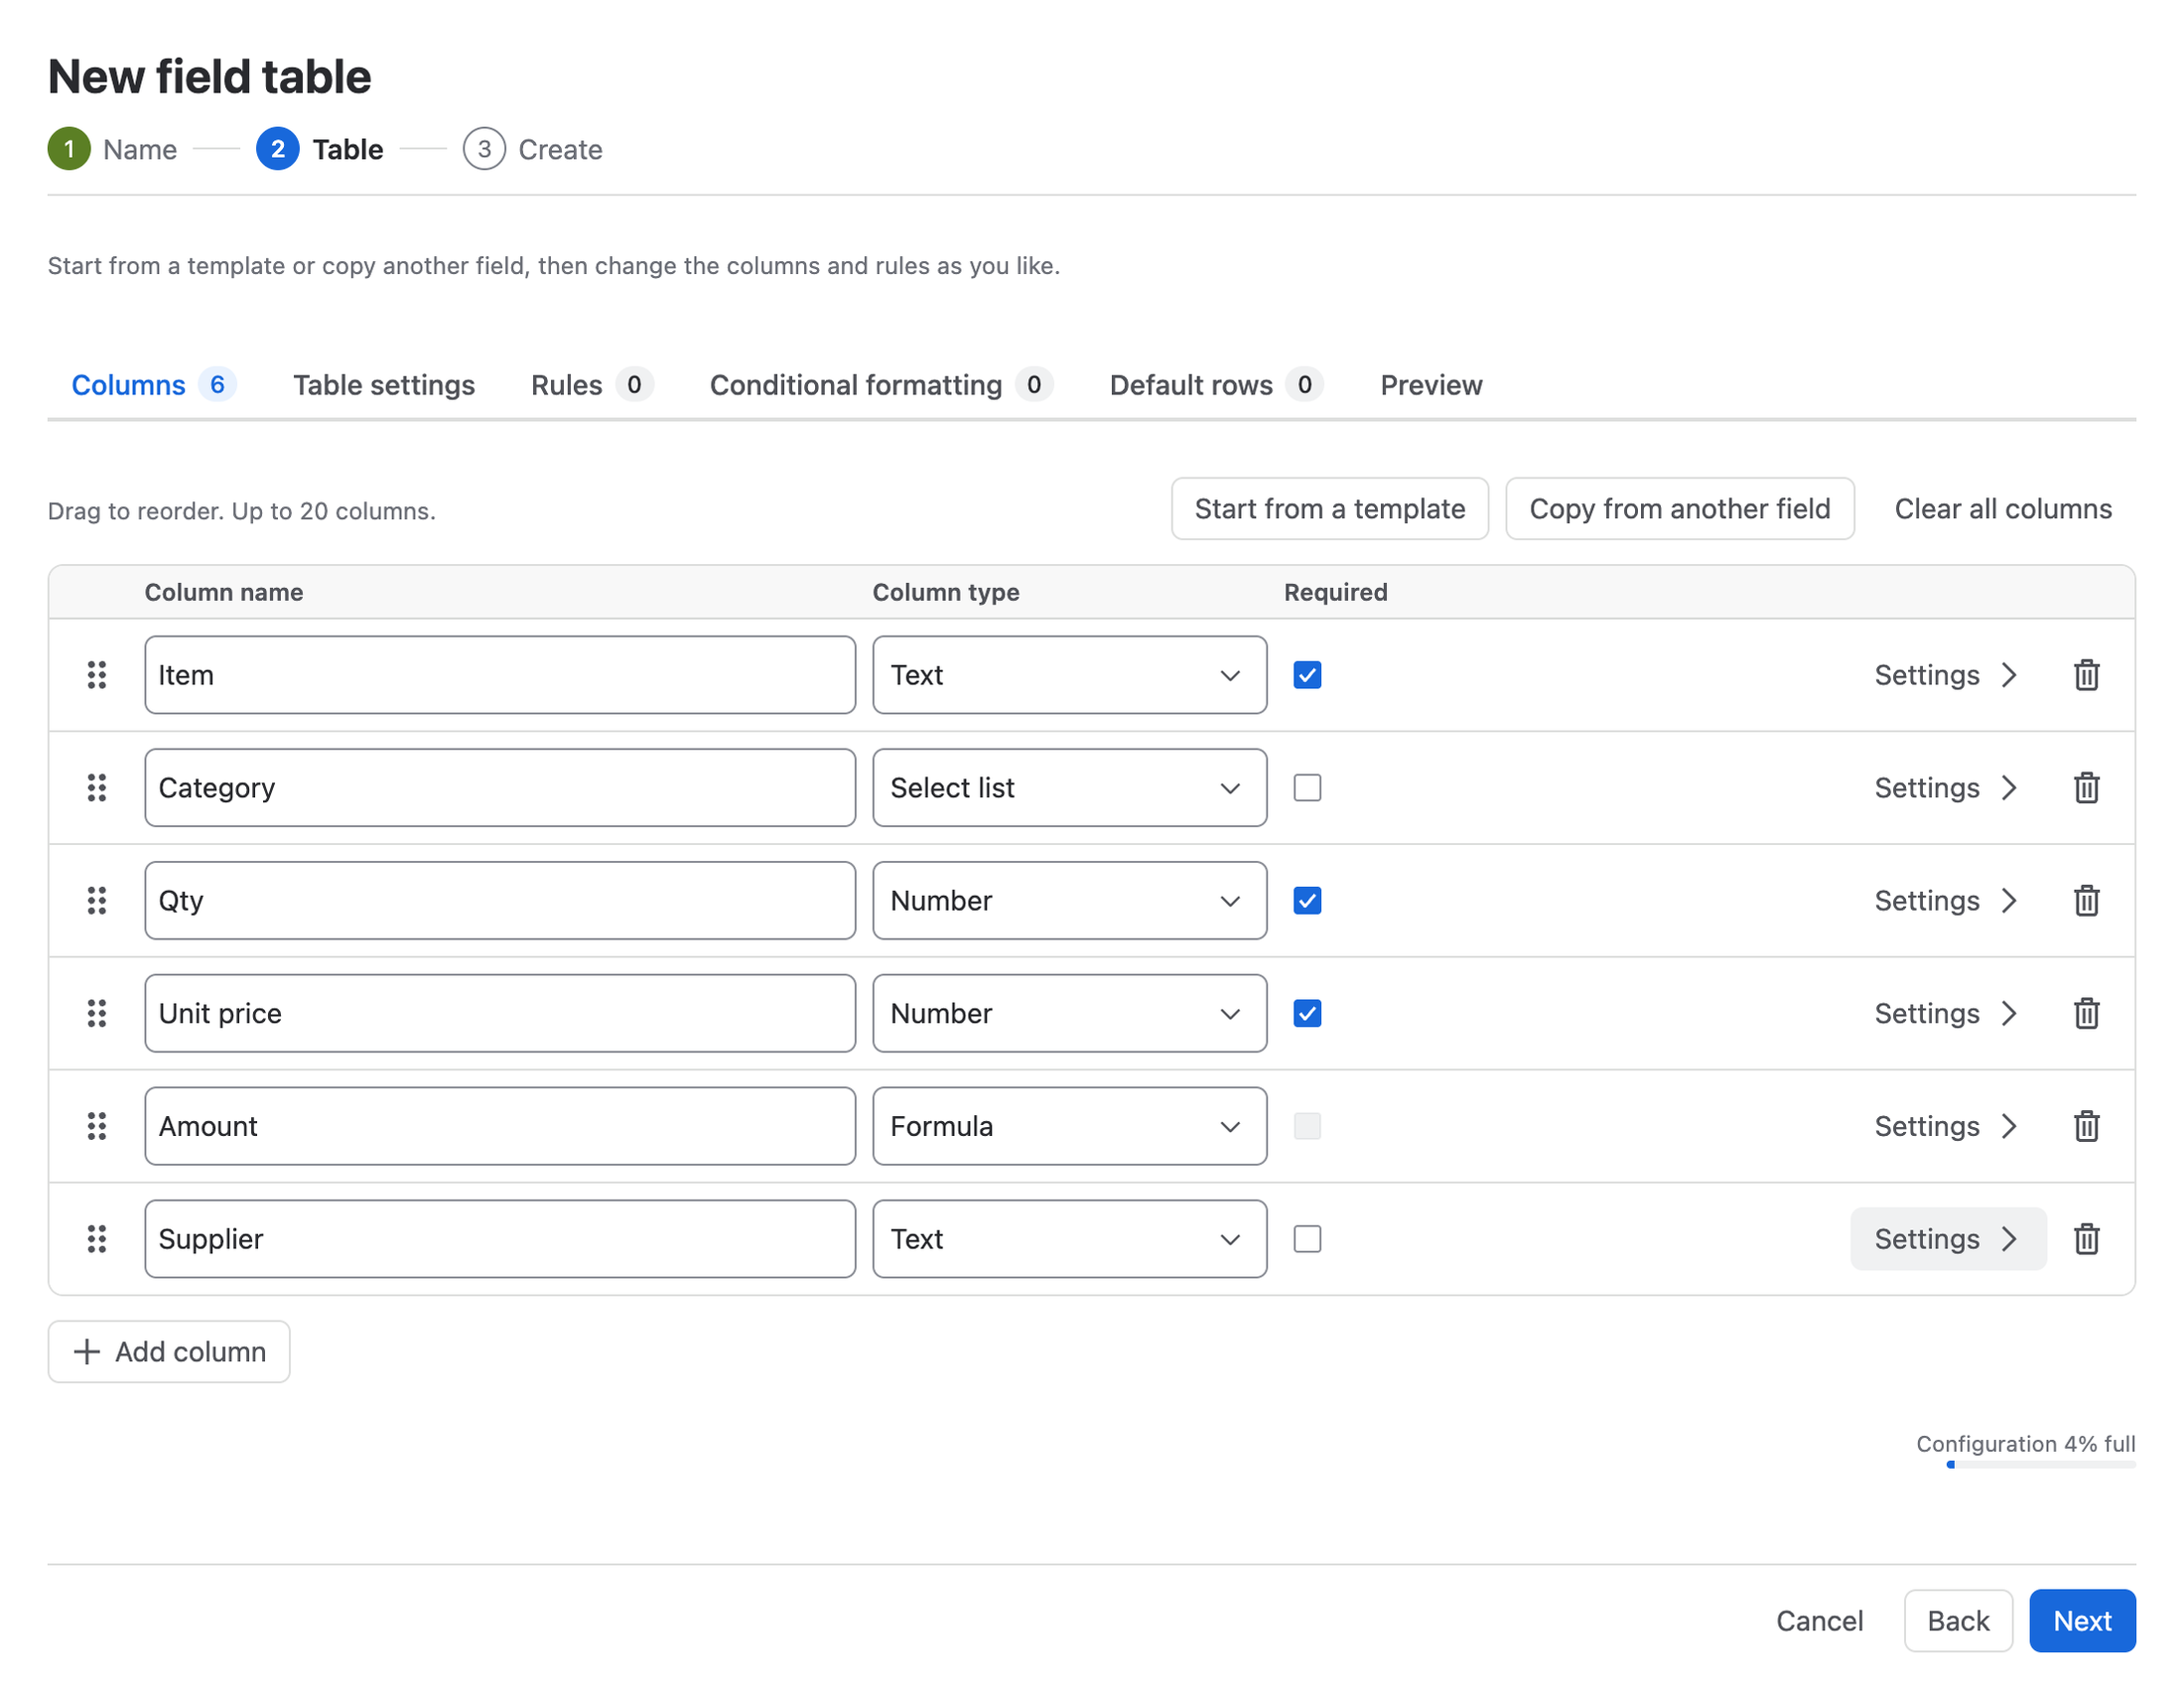
Instead of a template you can also select Copy from another field to start from an existing table field, or Add column to build the table yourself. Select Next when the table is ready.
The last step summarises the field. Select Create field table.
4. Add the field to screens
People only see a custom field on screens that contain it. After the field is created, RowCraft shows Next: add the field to screens with a link to Jira's screens page for this field (the same link is under Add to screens in the field's ••• menu on Field tables).
- Select Add to screens.
- Tick the screens and tabs of the projects that need the table, for example the create, edit and view screens of your purchasing project.
- Save your selection on Jira's page.
5. Fill in the first rows
Open or create a work item in a project whose screens include the field.
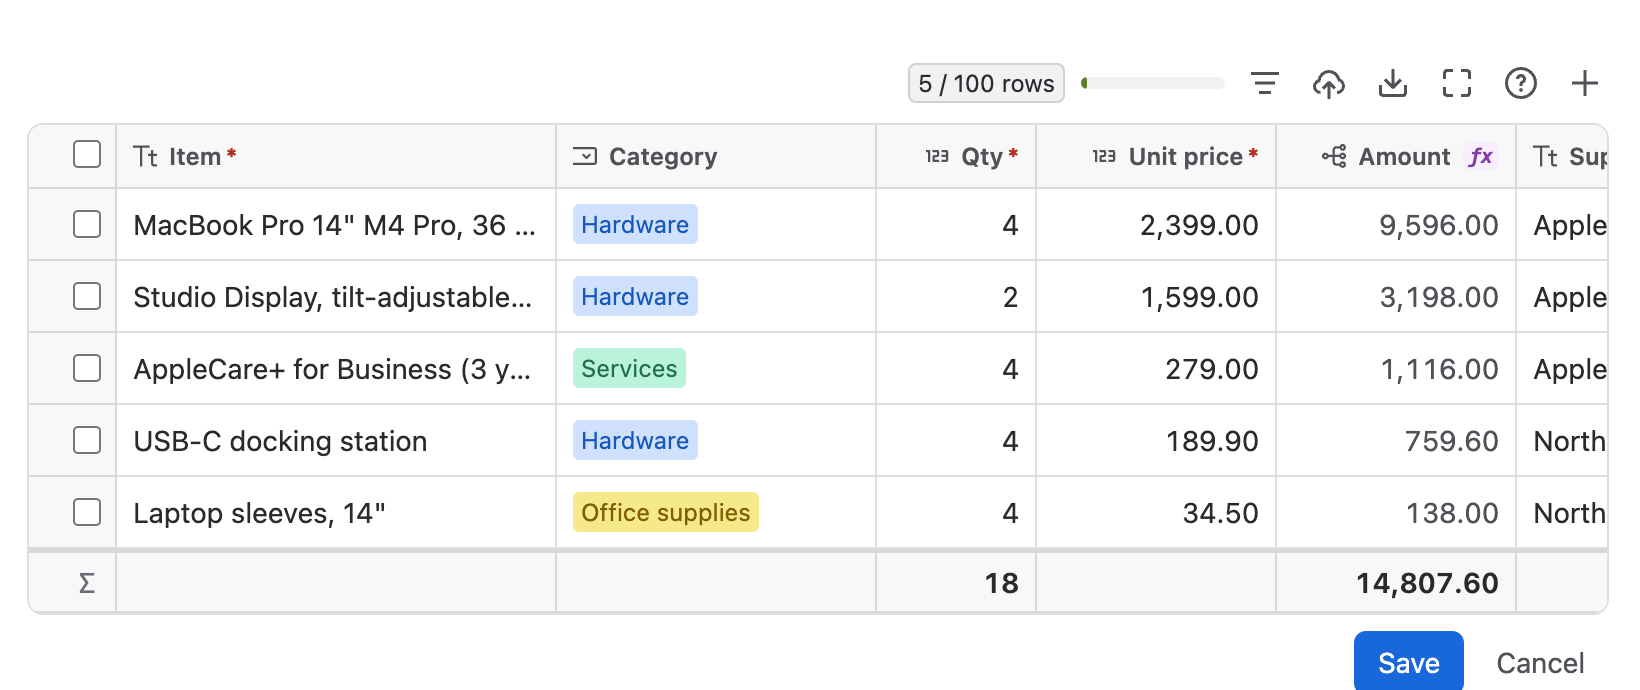
- Click the table (or the empty field) to start editing.
- Type in the first cell and press Tab to move to the next one. Select lists, dates and people have their own pickers; formula columns calculate themselves.
- Press Enter on the last row to add another row, or select Add row (+) in the toolbar.
- Select Save. Jira stores the table with the work item, and the totals and search data are updated.
On create, transition and service-portal forms there is no Save button: the table is saved with the form.
What to read next
- Edit a table — every shortcut, paste from Excel, fill down, undo and the large editor.
- Column settings and formulas — decimals, units, totals, default values and validation.
- Search with JQL — find work items by their rows.