
 Compare Any Two Pages
Getting started
Getting Started with Compare Any Two Pages
You can begin from the Compare Any Two Pages app page or from content that is already open in Confluence. Choose the entry point based on what is already known.
1. Choose an entry point
- Use the app page when you want to choose both the Before and After content from scratch.
- Use Compare this page when the current Page, Live doc, or Blog post should be one side of the comparison.
- Use the last-viewed entry below the page title to compare with your previous visit. When a previous record exists, it opens the result directly, so you can skip to step 5. See how it works.
2. Choose the content
Select a result by title, paste a Confluence page URL, or enter a numeric content ID. Compare Any Two Pages only shows content the current user can access.
3. Choose versions
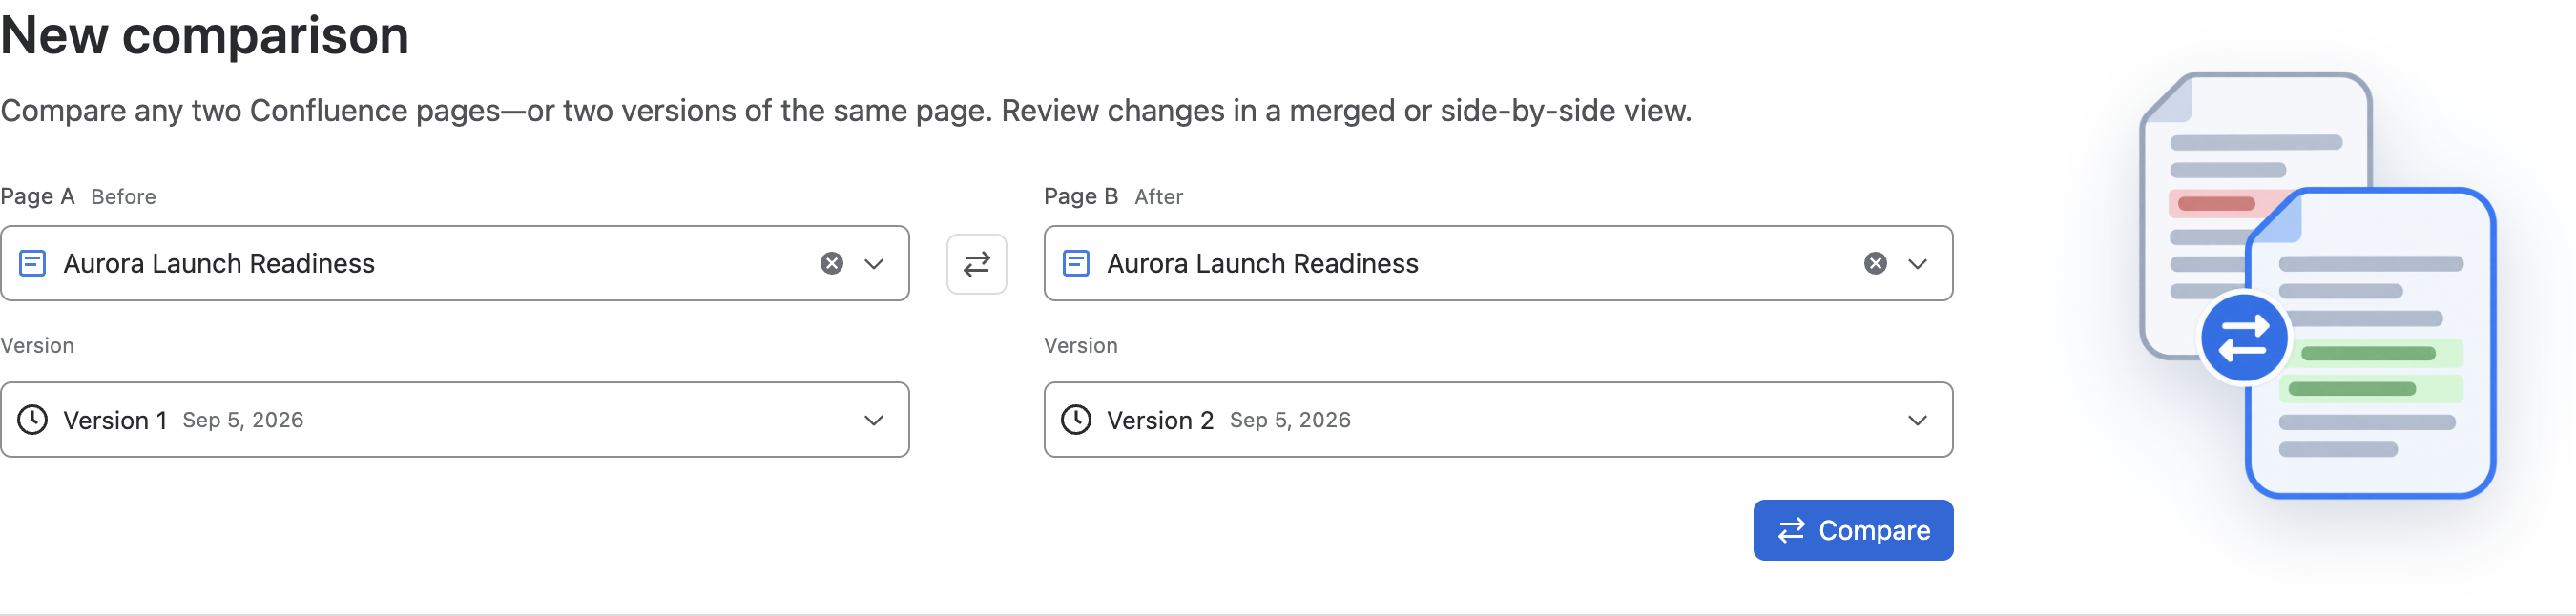
Each side defaults to Latest version. Open the Version field to lock either side to a historical version.
For the example above, select Version 1 for Before and Version 2 for After. See the version selector and its options.
4. Start the comparison
Select Compare. Compare Any Two Pages loads both selected snapshots and opens their highlighted differences in the results workspace.
5. Review the result
Switch between Unified and Side by side, then use Previous change and Next change to review the highlighted changes. Check the current/total indicator: navigation wraps from the last change to the first.